
Ice Dams on High Country Roofs: What to Do Right Away
First Steps When Water Drips Inside: Immediate Interior and Exterior Triage
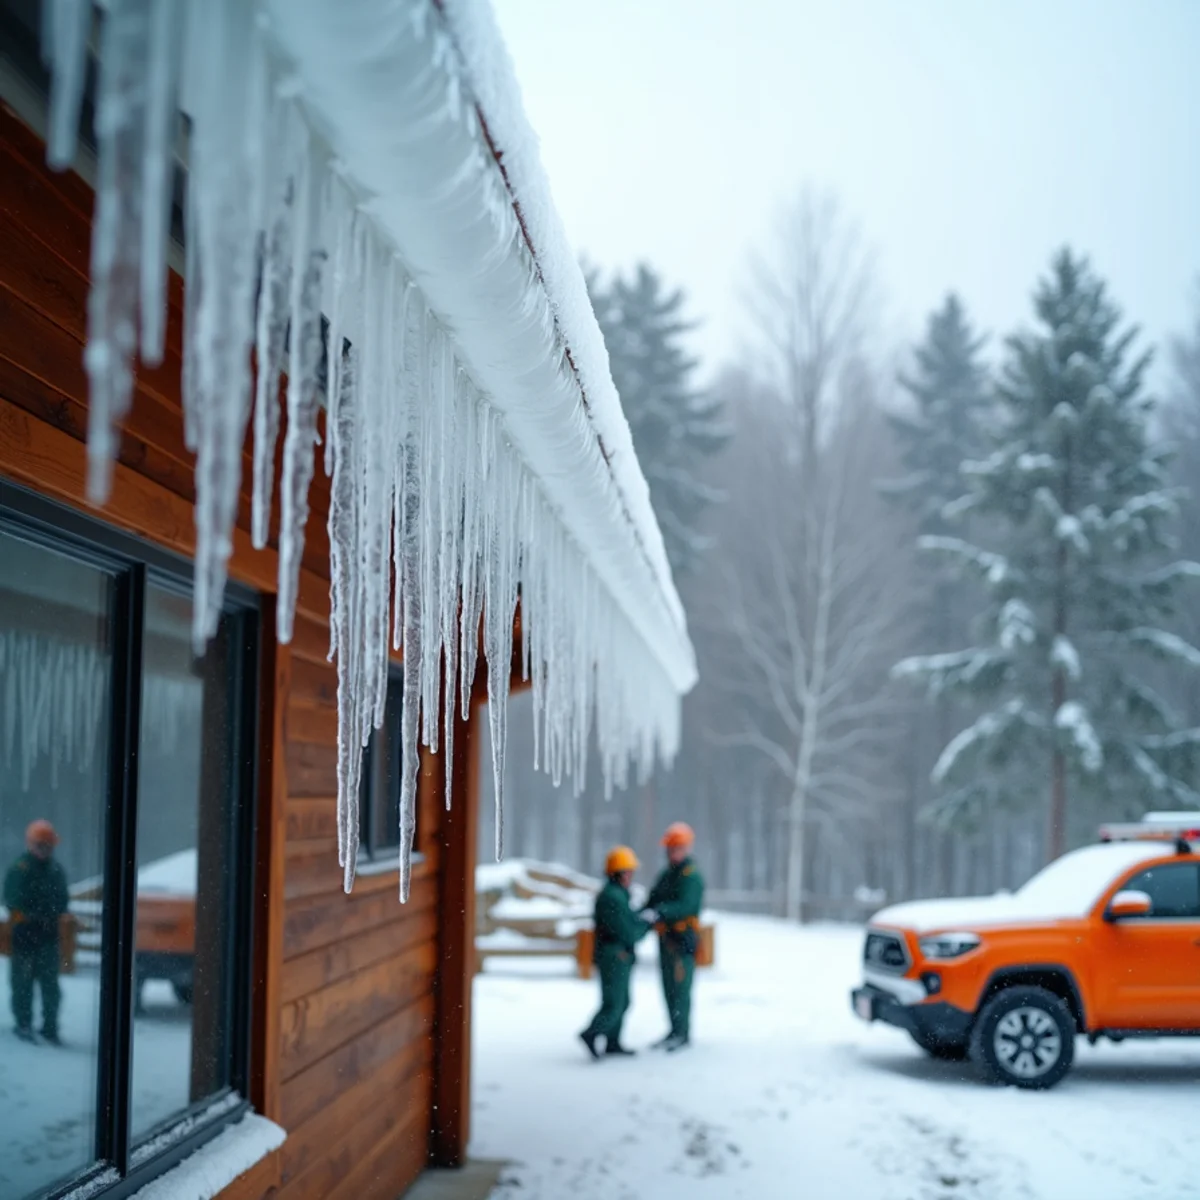
Discovering water dripping from an exterior wall header, running down window trim, or staining a tongue-and-groove vaulted ceiling during a mid-winter deep freeze is one of the most stressful experiences a mountain homeowner can face. In communities like Beech Mountain, Sugar Mountain, Banner Elk, and Blowing Rock, where elevations exceed 3,500 to 5,500 feet, ice dams are not just an aesthetic nuisance—they are an active threat to your home's structural framing and interior finishes.
When water begins penetrating your interior living space, take these critical triage steps immediately: 1. Protect Your Interior Assets: Move furniture, rugs, and electronics away from the drip area. Place 5-gallon buckets beneath active drips, and lay thick towels or plastic drop cloths across hardwood flooring. 2. Relieve Ceiling Pressure: If water is pooling behind drywall or sheetrock, look for bulging or sagging paint blisters. Carefully poke a small hole in the lowest point of the blister with a screwdriver or awl to guide water into a bucket. This prevents drywall saturation from spreading horizontally and collapsing an entire ceiling section. 3. Trace the Leak Pathway: Remember that water rarely enters the roof directly above where it drips inside. Meltwater backs up behind the ice dam at the cold eave, flows upward beneath asphalt shingles or standing-seam ribs, finds a nail penetration or unsealed decking seam, and travels down rafter slopes before finding a way through your ceiling. 4. Call Local Professionals: Do not wait for temperatures to rise. Contact Wyatt Phelps at W.P.E.S. LLC at (321) 485-9911 for emergency assessment, steaming triage, and exterior drainage diagnostics.
How Ice Dams Form on High-Elevation Roofs in Beech Mountain and Banner Elk
Ice dams are the physical byproduct of a three-part environmental equation: roof snow accumulation, uneven roof deck temperatures, and freezing ambient air temperatures. Across the High Country, winter storms routinely dump heavy, wet rime snow that blankets rooflines in a thick insulating blanket.
The process begins in the attic or roof cavity. In many mountain chalets, vaulted timber frames, and older cabins, warm indoor air escapes into the attic through unsealed can lights, attic access hatches, plumbing chases, and chimney flues. This warm air collects at the upper ridge, raising the temperature of the upper roof decking above 32°F (0°C). Even when the outside air is 18°F, the underside of the snowpack at the upper roof pitch begins to melt.
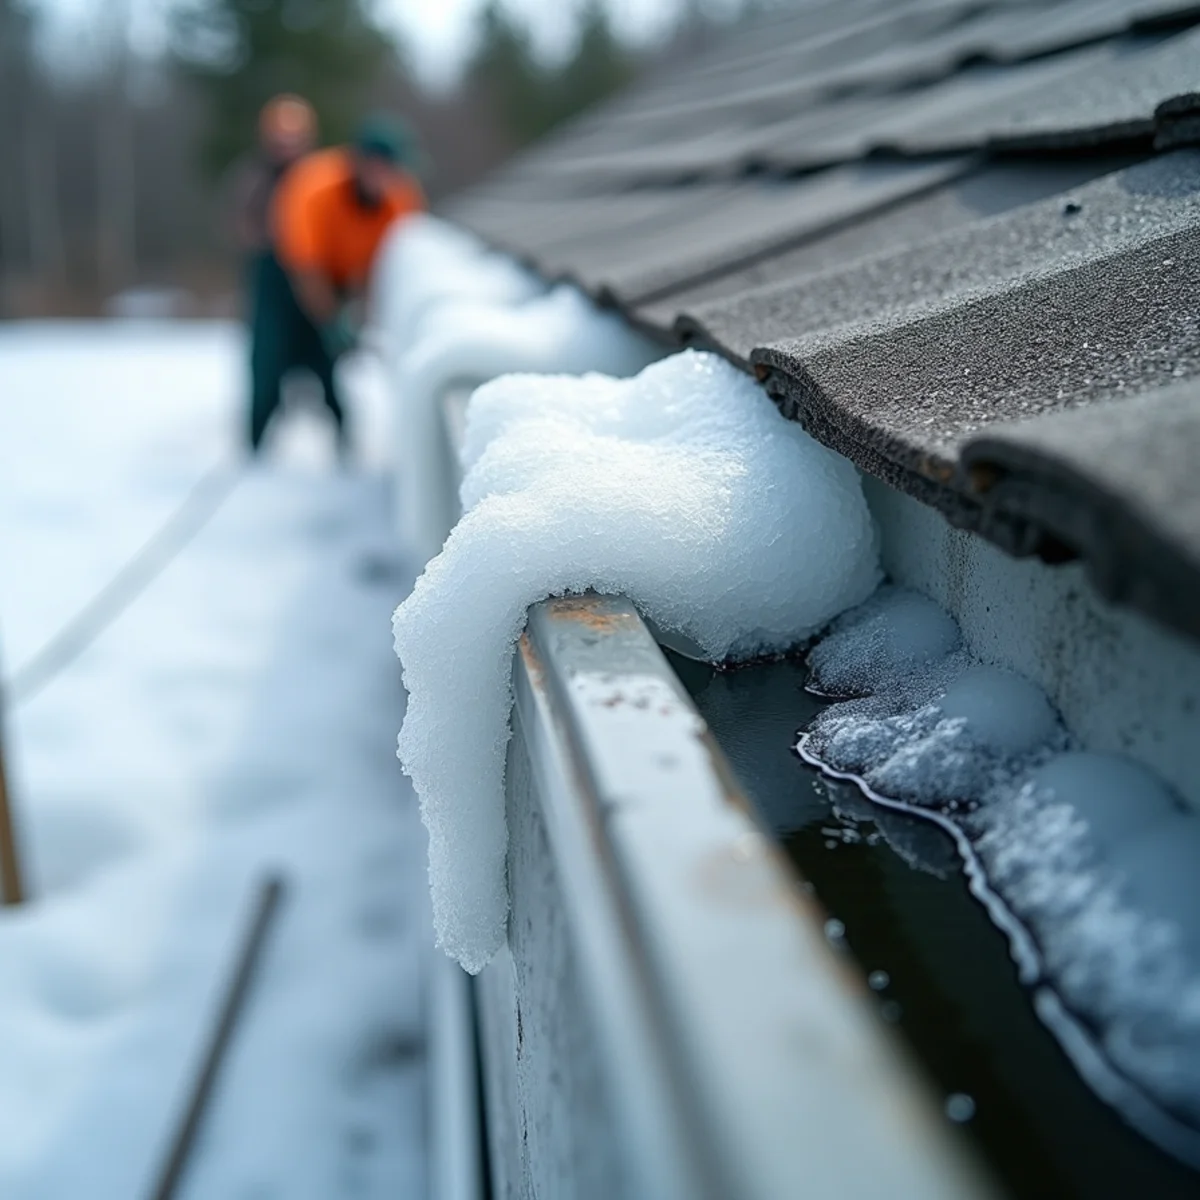
This liquid meltwater trickles down the roof surface beneath the insulating blanket of snow. However, once the water reaches the roof overhang (the eave and soffit), it encounters decking that extends beyond the heated exterior walls of the home. Here, the wood is cold—matching the sub-freezing outdoor ambient temperature. The trickling meltwater suddenly refreezes, forming a ridge of solid ice right along the eave and inside the gutter trough. As more meltwater flows down, it hits this frozen barrier and has nowhere to go. It pools into an active liquid reservoir behind the ice ridge, lifting shingle tabs, penetrating underlayment seams, and soaking sub-fascia framing.
The Dangers of DIY Ice Removal: Why Sledgehammers, Axes, and Salt Destroy Roofs
When faced with a massive ridge of ice along their eaves, panicked homeowners often reach for aggressive tools from the garage. We urge you: never attack an ice dam with an axe, hatchet, sledgehammer, crowbar, or metal shovel.
Using blunt or sharp impact tools on a freezing roof causes catastrophic secondary damage: - Ruptured Roofing Panels: In sub-freezing mountain temperatures, asphalt shingles become brittle and shatter like glass when struck. On standing-seam or corrugated metal roofs, hammer strikes dent ribs, gouge factory Kynar paint finishes, and puncture holes straight through the metal deck, voiding manufacturer warranties. - Destroyed Gutter Troughs: Hitting ice frozen inside an aluminum gutter inevitably tears the thin metal, splits corner miters, and shears hanger brackets right out of the wood fascia. - Severe Fall Hazards: Standing on an icy ladder or climbing onto a snow-covered roof pitch while swinging an axe is an extreme life safety hazard that results in severe winter trauma injuries every year across Avery and Watauga Counties.
Similarly, avoid throwing rock salt (sodium chloride) or pool chemicals onto your roof. Rock salt causes galvanic corrosion on metal roofs and gutters, leaches toxic brine onto foundation plants during spring thaw, and leaves permanent chemical rust staining across siding.
Safe Emergency Ice Dam Mitigation: Low-Pressure Steam and Chemical Calcium Chloride Socks
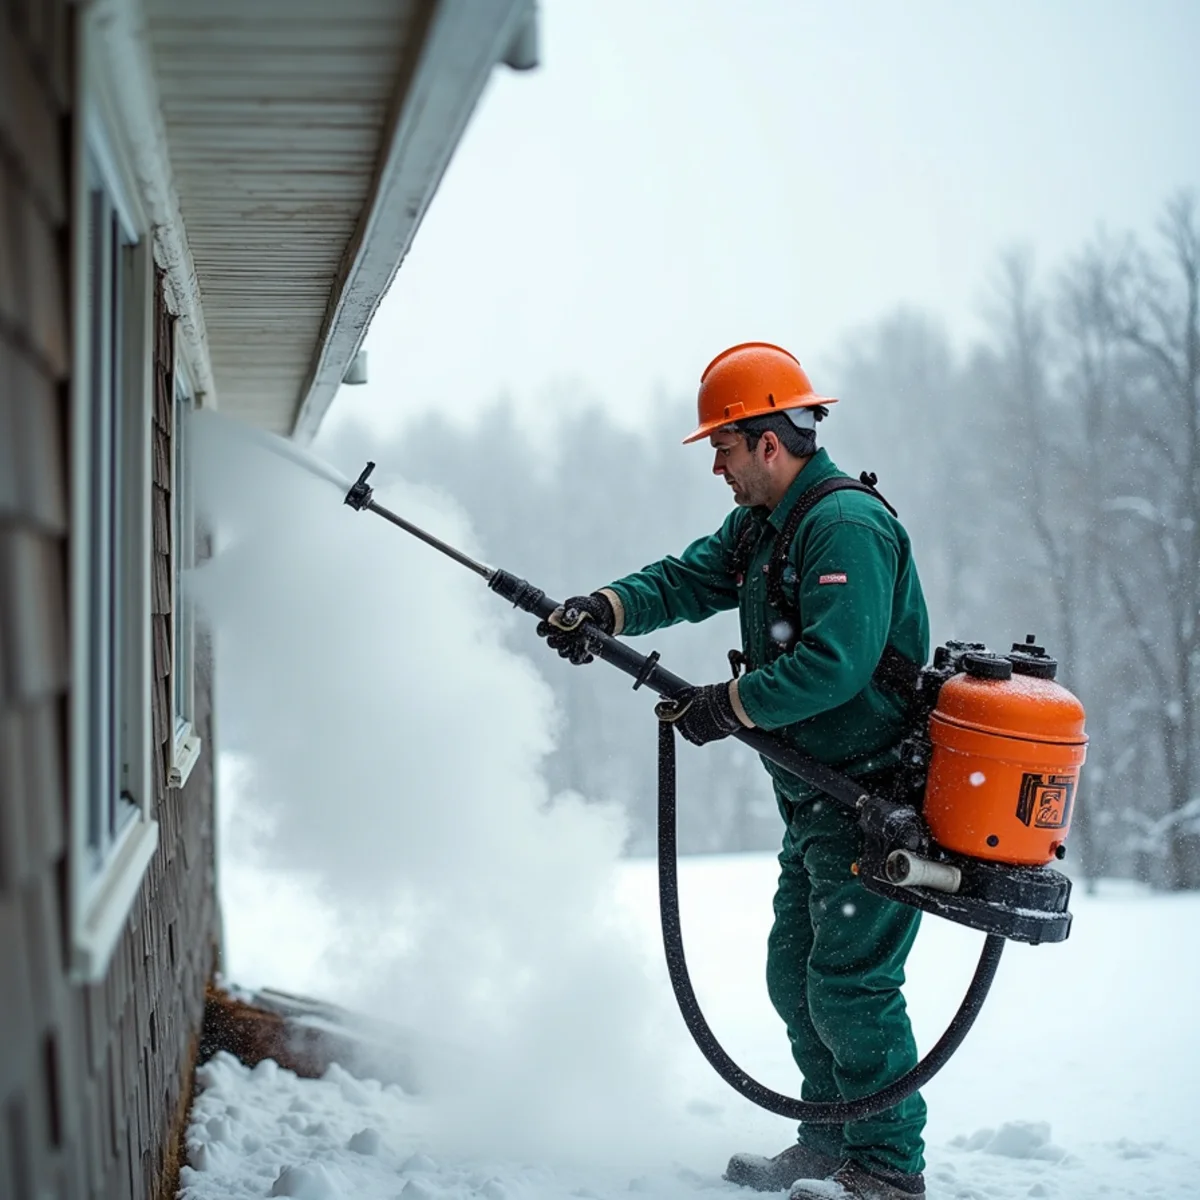
When an ice dam is actively forcing meltwater into a home, professional contractors use safe, controlled methods that eliminate the ice barrier without damaging the roof surface.
1. Commercial Low-Pressure Steam: The gold standard for emergency ice dam removal is low-pressure, high-temperature steam. Unlike high-pressure hot water washers (which can blast granules off shingles and drive water under flashings), specialized steam machines operate at temperatures exceeding 280°F under gentle, low pressure (less than 250 PSI). The thermal energy of the steam cuts through solid ice like a laser, creating clean drainage channels through the dam and allowing pooled water to flow harmlessly off the eave.
2. Chemical Calcium Chloride Socks: For minor ice dams or temporary relief while waiting for professional steaming, homeowners can create calcium chloride melt channels. Fill a pair of nylon pantyhose or fabric tubes with pure calcium chloride pellets (never rock salt). Lay the filled sock vertically across the ice dam, extending slightly over the gutter edge. The calcium chloride generates an exothermic chemical reaction that slowly melts a vertical channel through the ice, providing an escape route for trapped water.
Long-Term Prevention: Attic Thermal Envelopes, Soffit Baffles, and Self-Regulating Heat Cables
Treating an ice dam after it forms is emergency triage. To ensure your High Country home never suffers another ice dam disaster, you must implement a permanent, comprehensive winterization strategy addressing both insulation and exterior drainage.
First, seal attic air leaks and increase insulation depth. Air sealing the attic floor prevents conditioned household heat from migrating into the roof cavity. Installing rafter ventilation baffles at the eaves ensures that cold outdoor air drawn in through soffit vents sweeps smoothly along the underside of the roof deck and exits through the ridge vent, maintaining a uniformly cold roof temperature from ridge to eave.
Second, install professional-grade self-regulating heat trace cables. In many mountain chalets with cathedral ceilings or complex roof valleys, achieving perfect attic insulation is architecturally impossible. W.P.E.S. LLC installs commercial-grade, self-regulating heat cables designed specifically for alpine climates. These heavy-duty industrial cables automatically increase heat output as ambient temperatures drop, maintaining clear, heated drainage channels along roof valleys, lower eave edges, and downspout conductors so meltwater can never freeze into a solid dam.
High Country Winter Ice Dam Protocol: Step-by-Step Homeowner Action Guide
Follow this practical High Country homeowner protocol to diagnose, manage, and prevent winter ice dam emergencies:
- Inspect Attic Insulation & Exhaust Vents: Ensure bathroom exhaust fans vent completely outside through insulated ductwork, not into the attic space where hot, moist air fuels ice dams. - Keep Gutter Troughs Clear Before First Snow: Autumn leaves and spruce needles left inside gutters act as frozen aggregate, cementing ice dams into indestructible concrete-like barriers. - Monitor Snow Accumulation on Eaves: After heavy snowfalls exceeding 10 inches, use a telescoping roof rake from ground level to pull snow back 3 to 4 feet from the eaves, preventing the snow blanket that fuels melting. - Check Downspout Outlets: Ensure downspout boots and underground drain outlets remain cleared of packed snowdrifts and plow piles so meltwater drains freely away from the house. - Schedule an On-Site Consultation with W.P.E.S. LLC: Call Wyatt Phelps at (321) 485-9911 for professional heat cable installation, gutter capacity upgrades, and fascia repair.
Wyatt Phelps
OwnerWyatt Phelps founded W.P.E.S. LLC in 2020 in Elk Park, NC. Serving homeowners and property managers throughout Avery, Watauga, and the Blue Ridge mountains with continuous seamless gutters, micro-mesh guards, and slope drainage.
Call Wyatt Directly: (321) 485-9911Common Questions
Frequently Asked Questions
Clear, practical answers about High Country gutters, snow loads, leaf guards, and exterior drainage.
Attic heat melts snow on the upper roof even in freezing temperatures. As that meltwater runs down to the cold, uninsulated eave overhang, it refreezes into an ice dam. Trapped water pools behind the ice, backs up beneath shingles or metal seams, and leaks into the home.